How to Deploy and Revive Legacy Full Stack Web Apps on Render Completely Free
You've got that old project buried in your GitHub repositories. The one you built during college or at your first job. It worked perfectly on localhost, maybe even had real users at some point. But now? The Heroku free tier is gone, your DigitalOcean droplet expired, and honestly, you just want to see it live again without pulling out your credit card.
I've been there. Multiple times.
After migrating seven legacy apps from various platforms to Render's free tier, I can tell you this: it's not only possible but surprisingly straightforward once you understand the quirks. This guide walks you through the entire process, from dusting off that forgotten repository to watching your app run in production again.
Why Render Makes Sense for Legacy Projects
Let me be honest about something. When Heroku killed their free tier in late 2022, I panicked. I had student projects, portfolio pieces, and side experiments scattered across multiple platforms. Some were on AWS (expensive), others on outdated hosting services (barely functional).
Render changed that equation entirely.
Here's what makes Render perfect for reviving old apps:
Unlike some "free" platforms that throttle your app into oblivion or inject ads, Render gives you legitimate hosting. Yes, the free tier spins down after 15 minutes of inactivity, but for portfolio projects or low-traffic tools, that's completely acceptable.
Understanding What You're Working With
Before we touch any code, you need to assess what you actually have. Pull up that old repository. I mean really look at it.
Run these diagnostic checks:
I recently revived a 2019 MERN stack project. The React version was ancient, half the npm packages had security warnings, and MongoDB was using a deprecated connection string format. But it still worked. That's the beauty of JavaScript — it's backwards compatible to a fault.
Step 1: Clone and Audit Your Repository Locally
First things first. Get that code on your machine.
Now run a dependency audit. For Node.js projects:
You'll probably see warnings. That's fine. We're not refactoring the entire codebase here. We're getting it live. If there are critical vulnerabilities in authentication or data handling, fix those. Otherwise, note them and move on.
For those working with multiple tech stacks or looking to expand their deployment knowledge beyond just web apps, I've covered similar migration strategies in my guide on cloud infrastructure best practices — those principles apply here too.
Step 2: Modernize the Essentials (Without Breaking Everything)
This is where most people either over-engineer or under-prepare. You need a middle ground.
Update Node.js Version Specification
Render needs to know which Node version to use. Add this to your package.json:
Pick a version that's still in LTS. Node 18 is solid as of 2026.
Fix the Start Script
Your package.json needs a proper start command. Render executes npm start by default.
If you're using something like ts-node or a custom build process, adjust accordingly. The key is that npm start must launch your production server.
Environment Variable Setup
Create a .env.example file listing all required variables:
This serves as documentation for yourself and Render's environment configuration.
Step 3: Database Migration Strategy
Most legacy full stack apps use MongoDB or PostgreSQL. Both work on Render, but the setup differs.
For MongoDB Users
Render doesn't provide managed MongoDB. You'll need MongoDB Atlas (which has a generous free tier).
Here's the migration path:
Your connection string will look like:
Update your server code if it's using the old mongodb:// format. The new driver requires mongodb+srv://.
For PostgreSQL Users
Render offers free PostgreSQL databases (1GB storage, expires after 90 days but can be renewed).
When creating your web service on Render, add a PostgreSQL database from the dashboard. Render automatically injects the DATABASE_URL environment variable into your app.
Connection code example:
The SSL configuration is crucial. Render's Postgres requires SSL connections.
Step 4: Configure Your App for Render's Environment
Render has specific expectations. Your app needs to respect them.
Port Binding
Render assigns a dynamic port via the PORT environment variable. Your server must listen on this port, not a hardcoded one.
Static File Serving for Full Stack Apps
If you have a React/Vue frontend built into your backend repository, you need to serve those static files in production.
For MERN stack apps:
Make sure your build script compiles the frontend:
If you're curious about optimizing frontend builds or implementing better caching strategies for production deployments, check out my detailed article on modern JavaScript performance patterns where I break down bundle optimization techniques.
Step 5: Create the Render Web Service
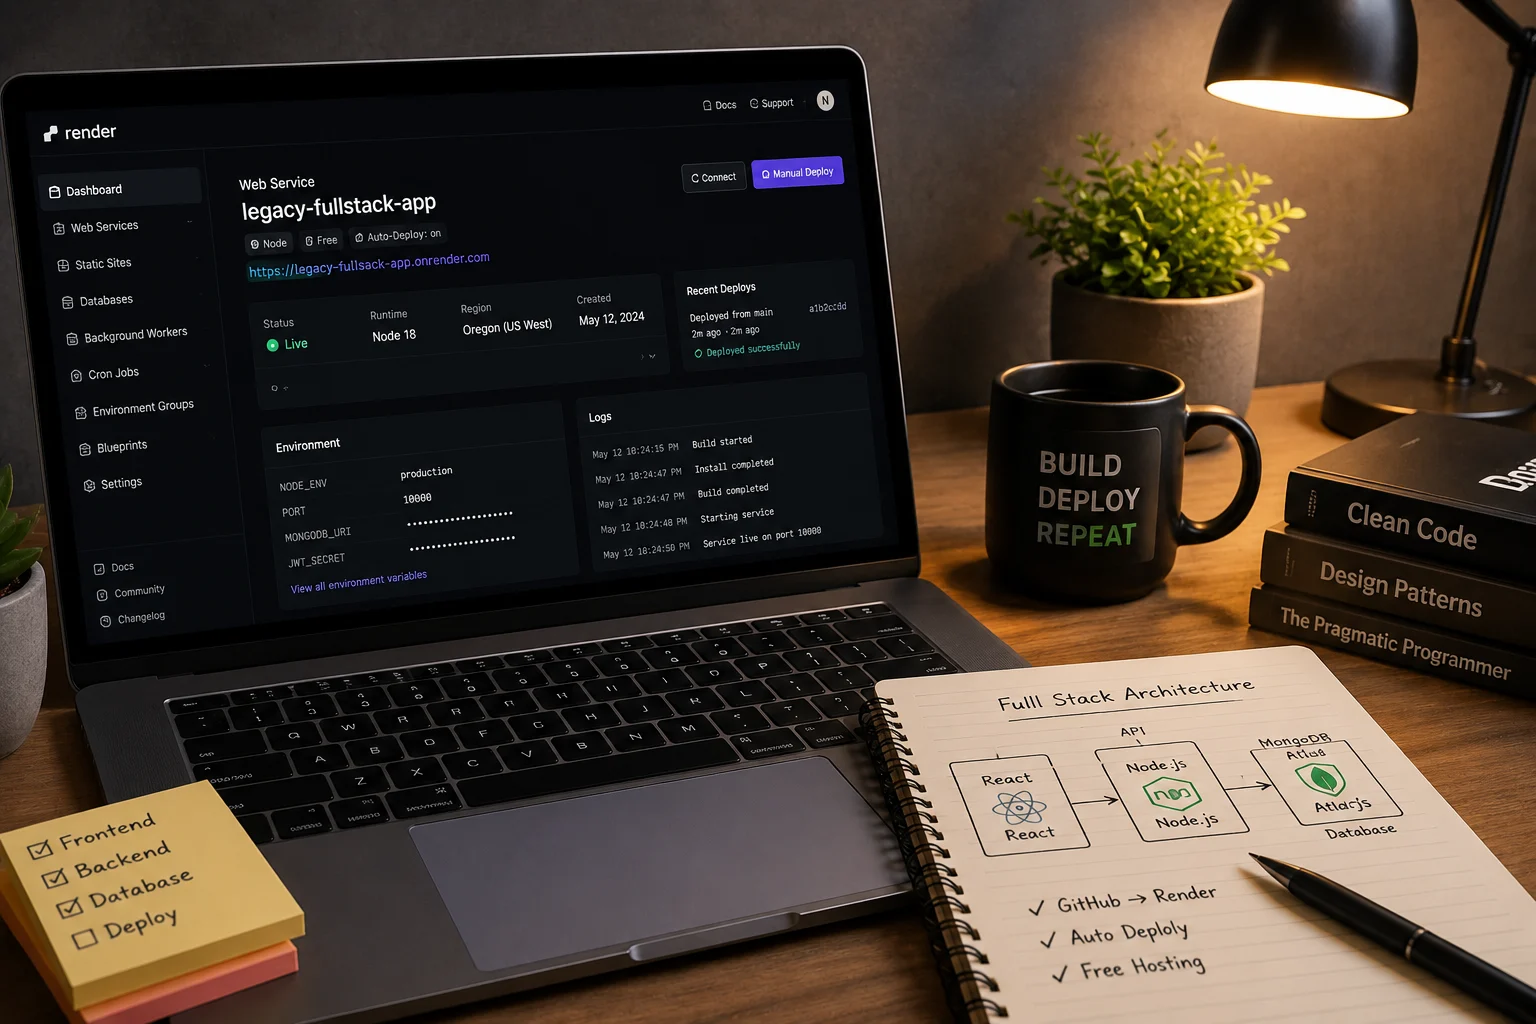
Now comes the actual deployment. Head to render.com and sign up using your GitHub account.
Deployment steps:
Environment Variables Configuration
In the Render dashboard, scroll to "Environment Variables" and add each variable from your .env.example:
- MONGODB_URI → Your Atlas connection string
- JWT_SECRET → Generate a new secret (don't reuse old ones)
- NODE_ENV → production
- CLIENT_URL → Your Render URL
Step 6: Deploy and Debug
Click "Create Web Service." Render will start building your app.
Watch the build logs carefully. This is where you'll catch errors.
Common Deployment Errors and Fixes
Usually means a dependency is in devDependencies instead of dependencies. Move it:
If you're using dotenv for local development, it might not be in production dependencies. Either install it properly or remove it from production code (since Render injects environment variables directly).
Free tier builds timeout after 15 minutes. If your frontend build is massive, consider:
- Splitting frontend into a separate static site deployment
- Removing unused dependencies
- Using lighter build tools
Check your start script and port binding. Nine times out of ten, it's one of those two issues.
Step 7: Handle the Cold Start Issue
Here's the reality of Render's free tier: your app spins down after 15 minutes of inactivity. The first request after that takes 30-60 seconds to wake up.
For portfolio projects, this is acceptable. For production apps with real users, you'll need the paid tier ($7/month as of 2026).
Mitigation strategies for free tier:
I use UptimeRobot for my portfolio projects. Works like a charm.
Step 8: Custom Domain Setup (Optional)
Render's free tier supports custom domains. If you own a domain, you can point it to your Render app.
DNS configuration:
Render automatically provisions SSL certificates via Let's Encrypt. No manual configuration needed.
Real-World Example: Reviving a 2020 MERN E-Commerce App
I recently brought back an old e-commerce project I built during a bootcamp. The app had a Node.js backend, React frontend, MongoDB database, and JWT authentication.
Original hosting: Heroku (dead) Database: mLab (acquired by Atlas) Status: Offline for 18 months
Migration process:
Now the app runs perfectly on Render's free tier. I added UptimeRobot monitoring, and it stays active 24/7 for portfolio viewers.
Advanced Tips for Full Stack Deployments
Monorepo vs Separate Deployments
If your frontend and backend live in one repository but you're hitting build timeouts, consider splitting them:
- Backend: Deploy as a Render Web Service
- Frontend: Deploy as a Render Static Site (unlimited bandwidth on free tier)
Update CORS settings to allow your static site domain:
Health Check Endpoints
Add a health check route to verify your app is running:
Use this with UptimeRobot or for debugging.
Logging and Monitoring
Render provides built-in logs (last 7 days on free tier). For anything older, pipe logs to external services:
- LogTail — Free tier available
- Papertrail — 50MB/month free
- Better Stack — Free logs for small projects
I've written extensively about debugging production applications and implementing effective logging strategies in my backend architecture guide — those monitoring patterns work perfectly with Render deployments.
When Free Tier Isn't Enough
Render's free tier has limits. If you're hitting them, here's when to upgrade:
The paid tier starts at $7/month. Still cheaper than most alternatives.
Wrapping This Up
Reviving legacy projects shouldn't cost money or require weeks of refactoring. Render makes it possible to breathe life into old repositories in an afternoon.
Your action plan:
That project you built two years ago? It deserves to be live. Whether it's for your portfolio, a case study, or just nostalgia, getting it deployed validates the work you put in back then.
Drop a comment below if you run into deployment issues. I'm always curious to hear what legacy stacks people are reviving.